How to Make a FakeChatGPT Conversation— Step by Step
Learn how to create realistic ChatGPT conversation screenshots in under 2 minutes using the free ChatGPT screenshot generator. No design skills, no ChatGPT account needed. The SnapKit.ai free tool handles every pixel of the rendering — you just supply the words and pick a theme.
Step-by-step tutorial
Four steps from blank canvas to a publish-ready fake Chat GPT screenshot. Follow along or jump straight to the SnapKit.ai free tool and experiment.
Plan Your Conversation
Start by deciding the purpose of your screenshot. Are you building an ad creative, illustrating a social media post, creating educational content, or making something purely for entertainment? Write both sides of the exchange — the user’s prompt and the AI’s response — before you touch any tool. Keep each screenshot focused on a single topic or question. Conversations that try to cover too much ground in one image feel cluttered and perform worse across every platform.
Set Up Your Screenshot
Choose the right canvas dimensions for your target platform: 1080×1080 for Instagram and LinkedIn feed posts, 1200×627 for Twitter and blog headers, or 1080×1920 for Stories and Reels. Then pick light or dark mode to match your brand or context — dark mode tends to work better for developer and tech audiences, while light mode feels more natural for lifestyle and consumer content. Finally, add user details like a display name and avatar to make the conversation feel grounded.
Generate via API or Dashboard
Send POST /api/v1/render with a scene that includes a chatgpt node (often with a solid-bg layer behind it), or use the SnapKit dashboard playground for a visual, no-code interface. The pipeline returns JSON with a presigned PNG URL. Every element — typography, spacing, model label, message bubbles — mirrors the real ChatGPT interface so the output is indistinguishable from a genuine screenshot.
Export and Share
Download your finished image as a high-resolution PNG rendered at 2× pixel density, so it stays crisp on Retina screens, in social feeds, and when projected in presentations. Drop the file directly into your ad platform, social media scheduler, slide deck, or website. Pro tier exports are watermark-free and ready to publish without any additional editing.
Tips for realistic screenshots
The difference between a screenshot that fools everyone and one that feels off usually comes down to small details. Keep these in mind.
Keep responses concise — real ChatGPT responses are rarely walls of text in casual conversations. Shorter, punchy replies look more authentic and are easier to read in a screenshot context.
Use natural language — avoid overly formal or marketing-speak in the user prompt. Write the way a real person would actually type into ChatGPT, with contractions and casual phrasing.
Match the context — dark mode for tech, developer, and gaming audiences; light mode for lifestyle, education, and consumer content. The wrong theme can undermine believability instantly.
Add specific details — names, numbers, dates, and concrete examples make conversations feel authentic. Vague, generic text is the fastest way to make a screenshot look fabricated.
Test different formats — a single prompt-and-response exchange works great for ads and social posts, while multi-turn conversations are better for tutorials and educational content.
Common mistakes to avoid
Even small missteps can undermine the believability of your screenshot. Steer clear of these.
Writing AI responses that are too salesy or promotional. Real ChatGPT answers are informative and neutral — if the response reads like ad copy, viewers will see through it immediately.
Using unrealistic user prompts that no real person would type. Overly polished, keyword-stuffed prompts break the illusion. Write the way someone actually talks to an AI assistant.
Forgetting to match the screenshot dimensions to the target platform. A landscape image cropped into a square feed post looks amateur and wastes visual real estate.
Using the same screenshot everywhere. Tailor the conversation topic, dimensions, and theme to each platform for maximum impact.
Use cases for fake ChatGPT conversations
Fake ChatGPT screenshots work across dozens of scenarios. Explore the guides below for platform-specific strategies and examples.
For marketing campaigns
Learn how marketers use fake ChatGPT conversations to build trust and demonstrate product value.
Read guide →For ad creatives
ChatGPT-style ads outperform traditional static creative. See how to build high-converting ad images.
Read guide →For social media, presentations, and more
The complete guide to creating fake Chat GPT screenshots for any platform or purpose.
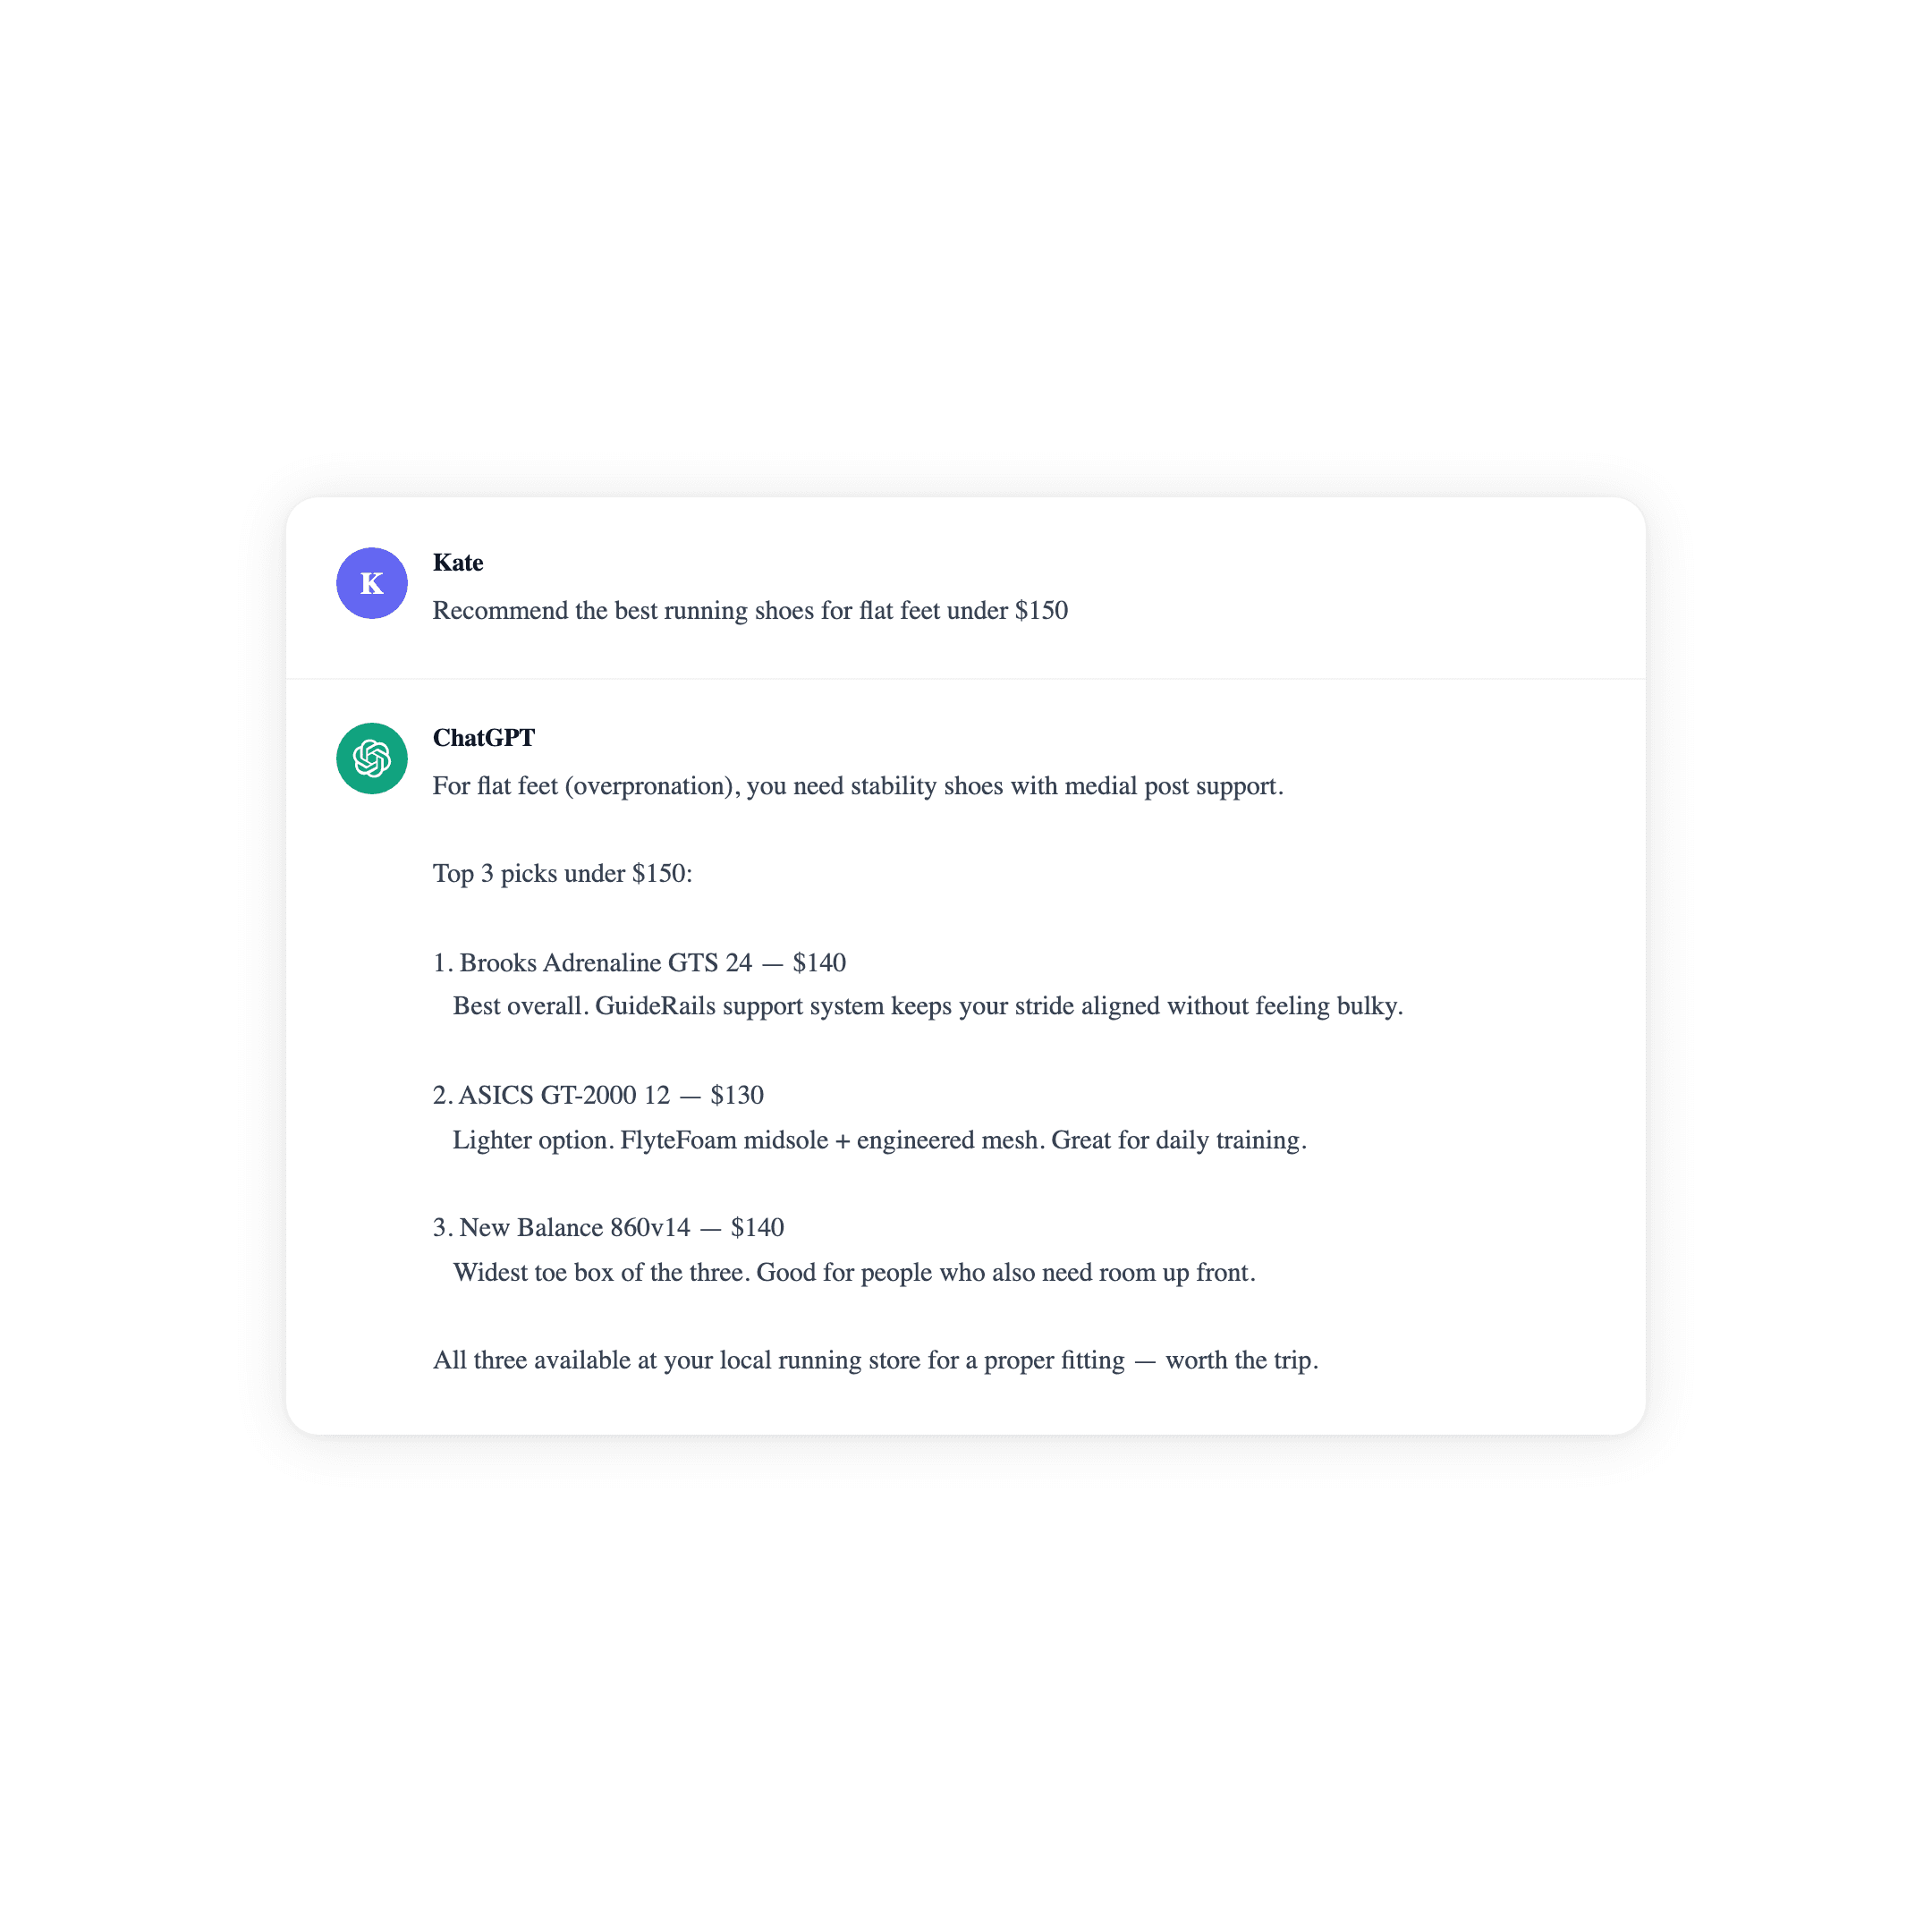
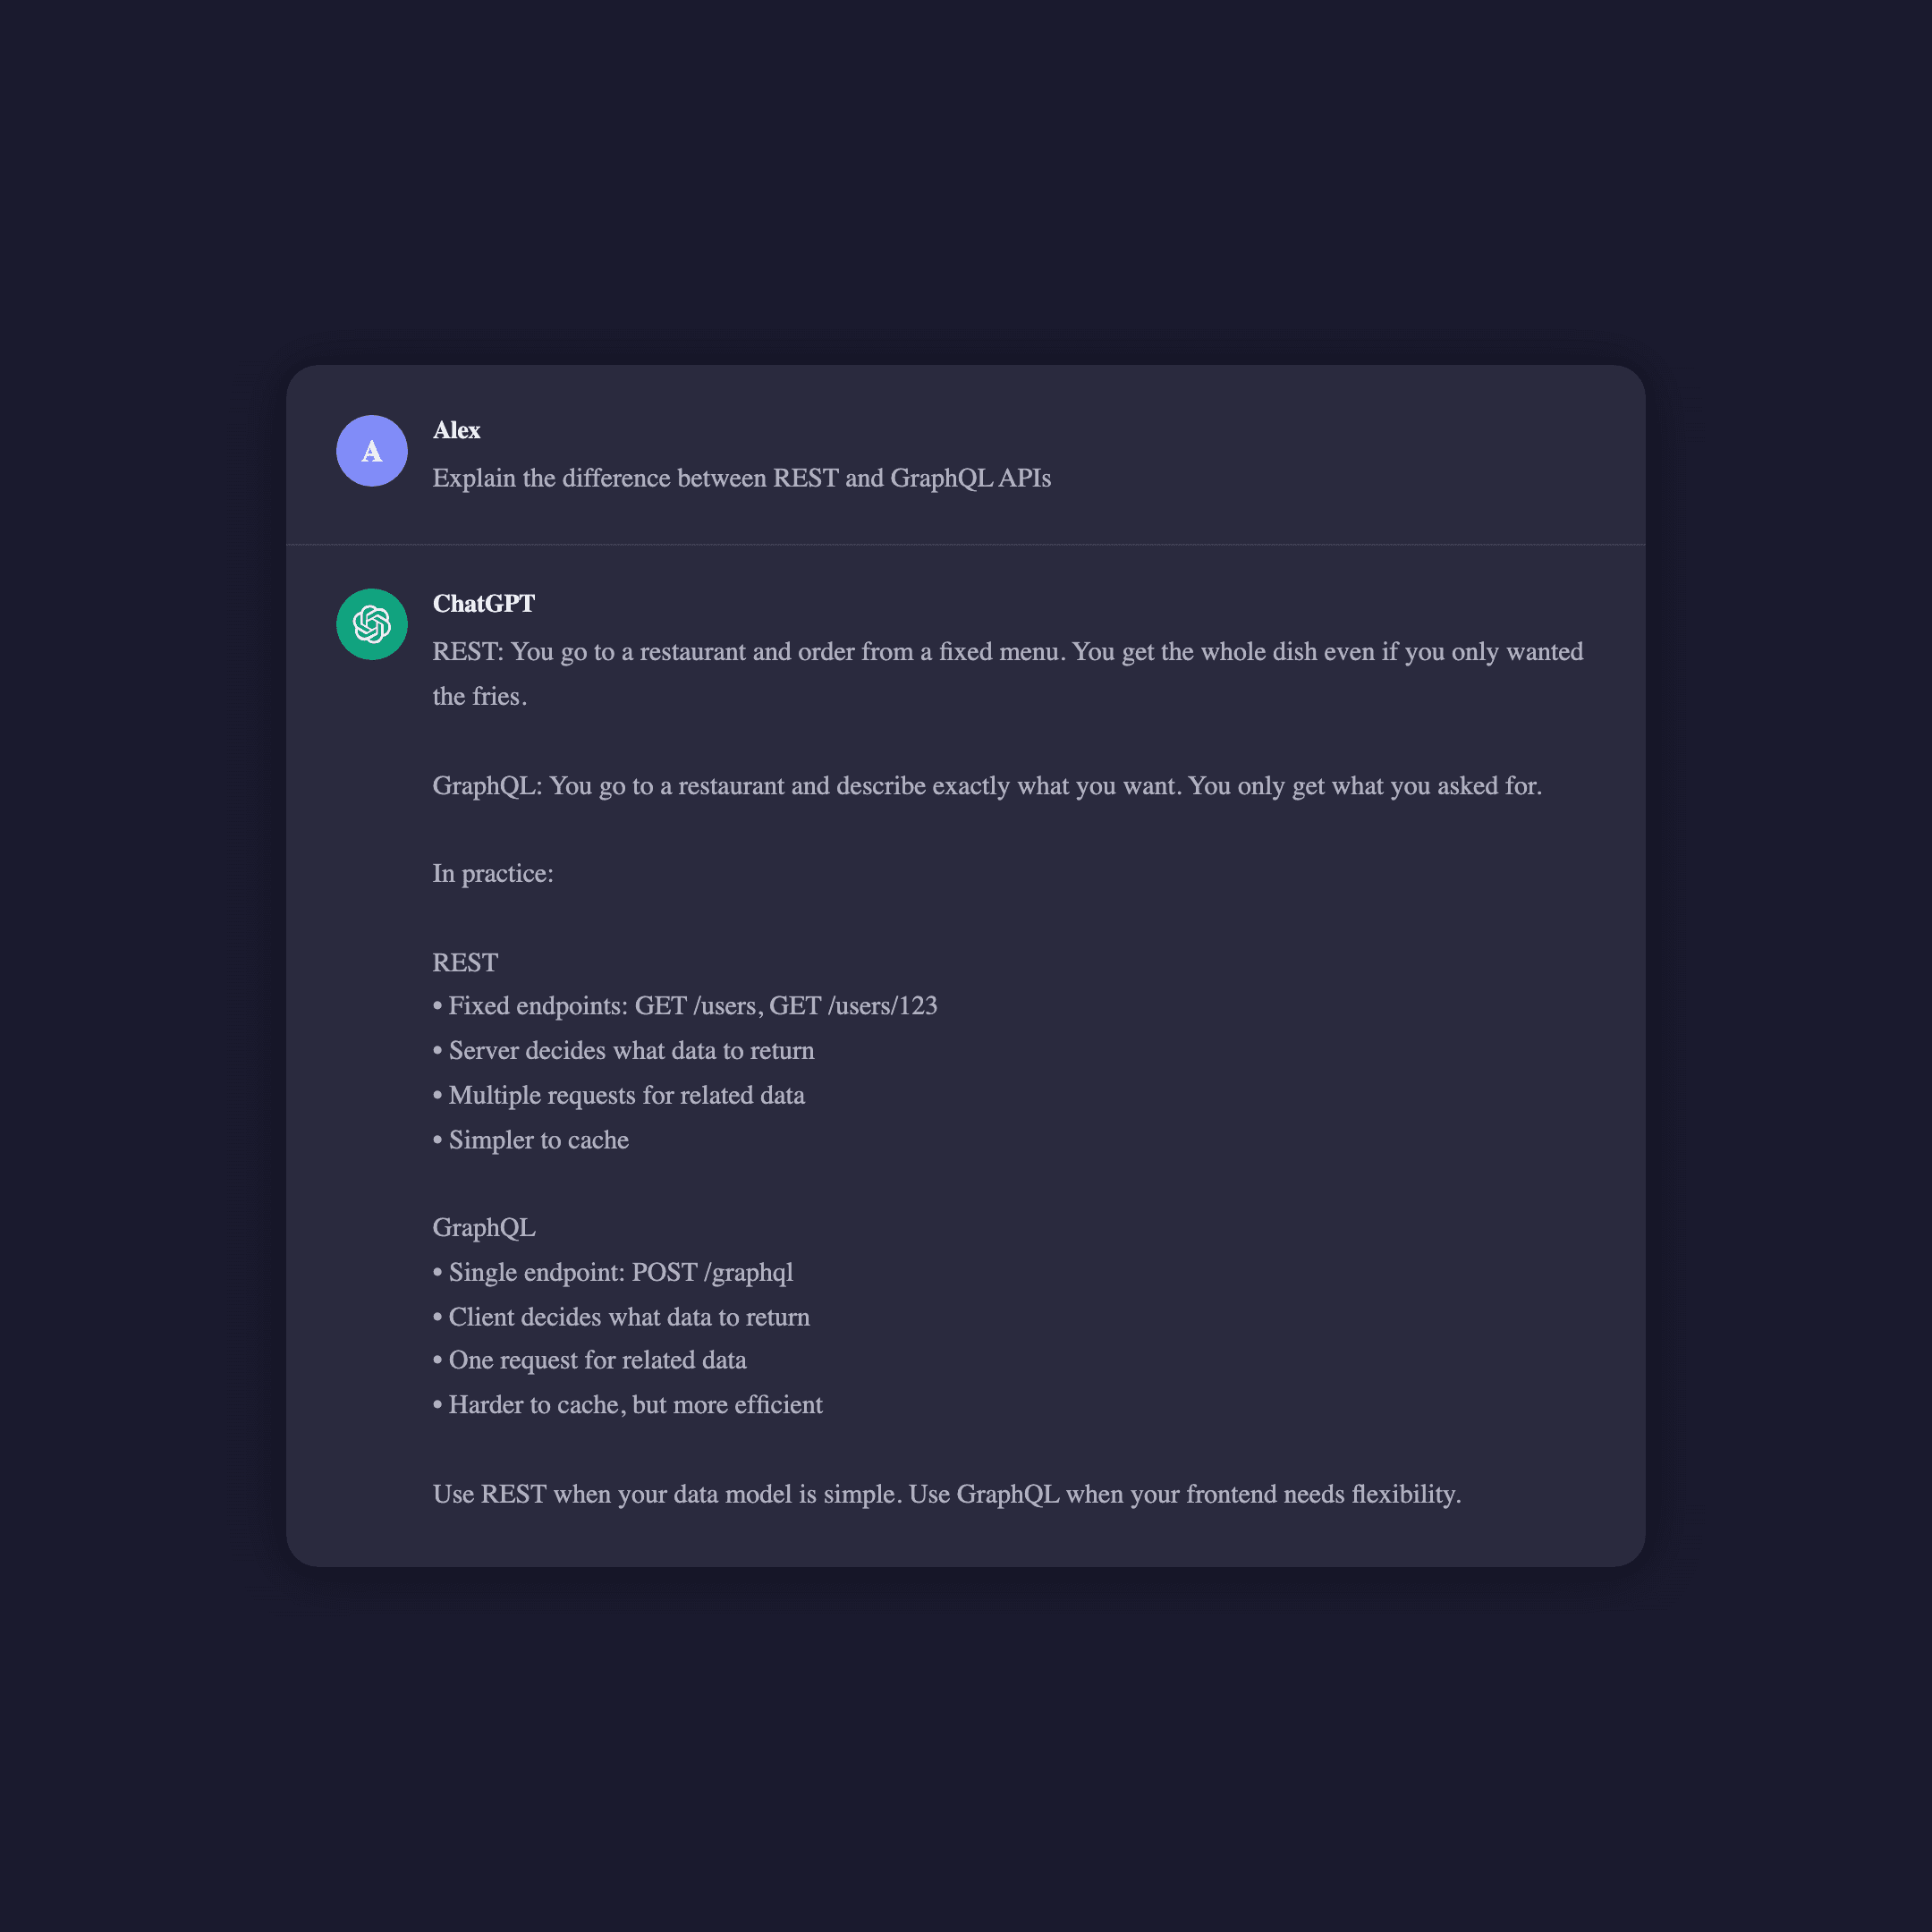
Read guide →Real output from SnapKit
These screenshots were generated by following the exact steps above. No editing, no cropping — straight from the API to this page.
Frequently asked questions
Under 2 minutes from start to exported PNG. Most of that time is spent writing the conversation itself — the actual rendering takes just a few seconds. If you use the API with a pre-built JSON payload, generation is near-instant.
No. SnapKit generates the screenshot entirely from your JSON input. There is no connection to OpenAI’s servers, no API key required, and no ChatGPT account needed. You write both sides of the conversation and SnapKit handles the visual rendering.
Currently SnapKit supports single-turn conversations — one user prompt paired with one AI response. This covers the vast majority of use cases including ads, social posts, and educational content. Multi-turn support is on the roadmap.
High-resolution PNG at 2× pixel density. PNGs preserve sharp text rendering and are universally supported across social platforms, ad managers, presentation software, and web browsers. The default canvas is 800×600 but fully configurable via the API.
Absolutely. SnapKit creates mockups — the same way designers use Figma to mock up app screens. The output is your content in a familiar chat format. Check each ad platform’s creative guidelines before publishing, just like you would with any other ad creative.
Join the waitlist
Be first in line when SnapKit launches. Create pixel-perfect ChatGPT conversation screenshots in under 2 minutes.

